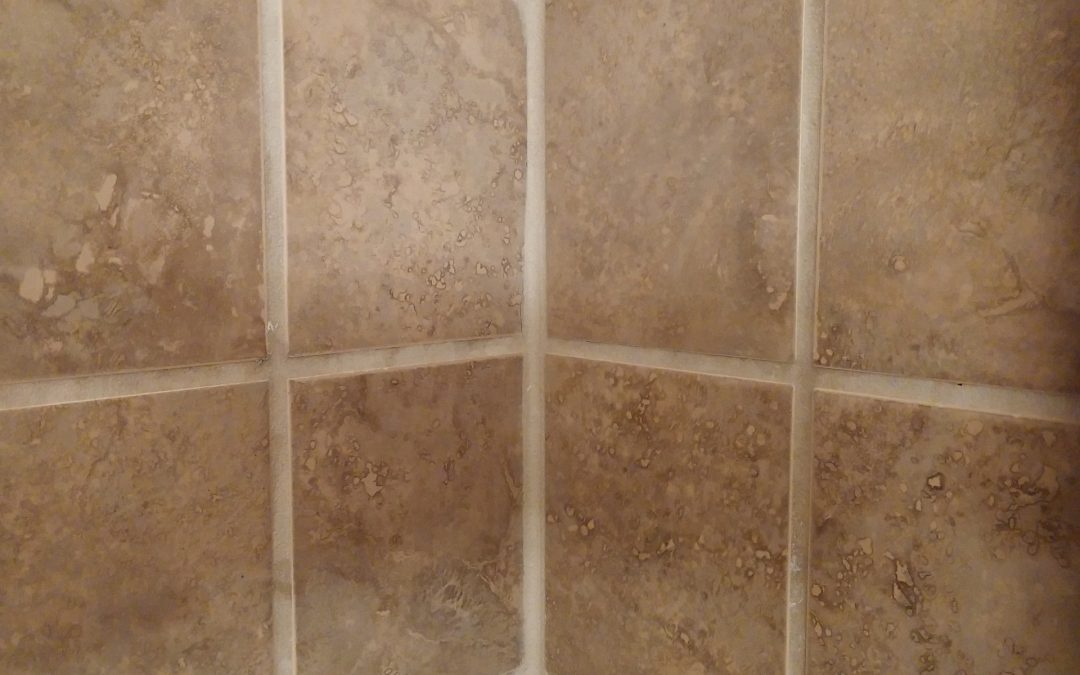
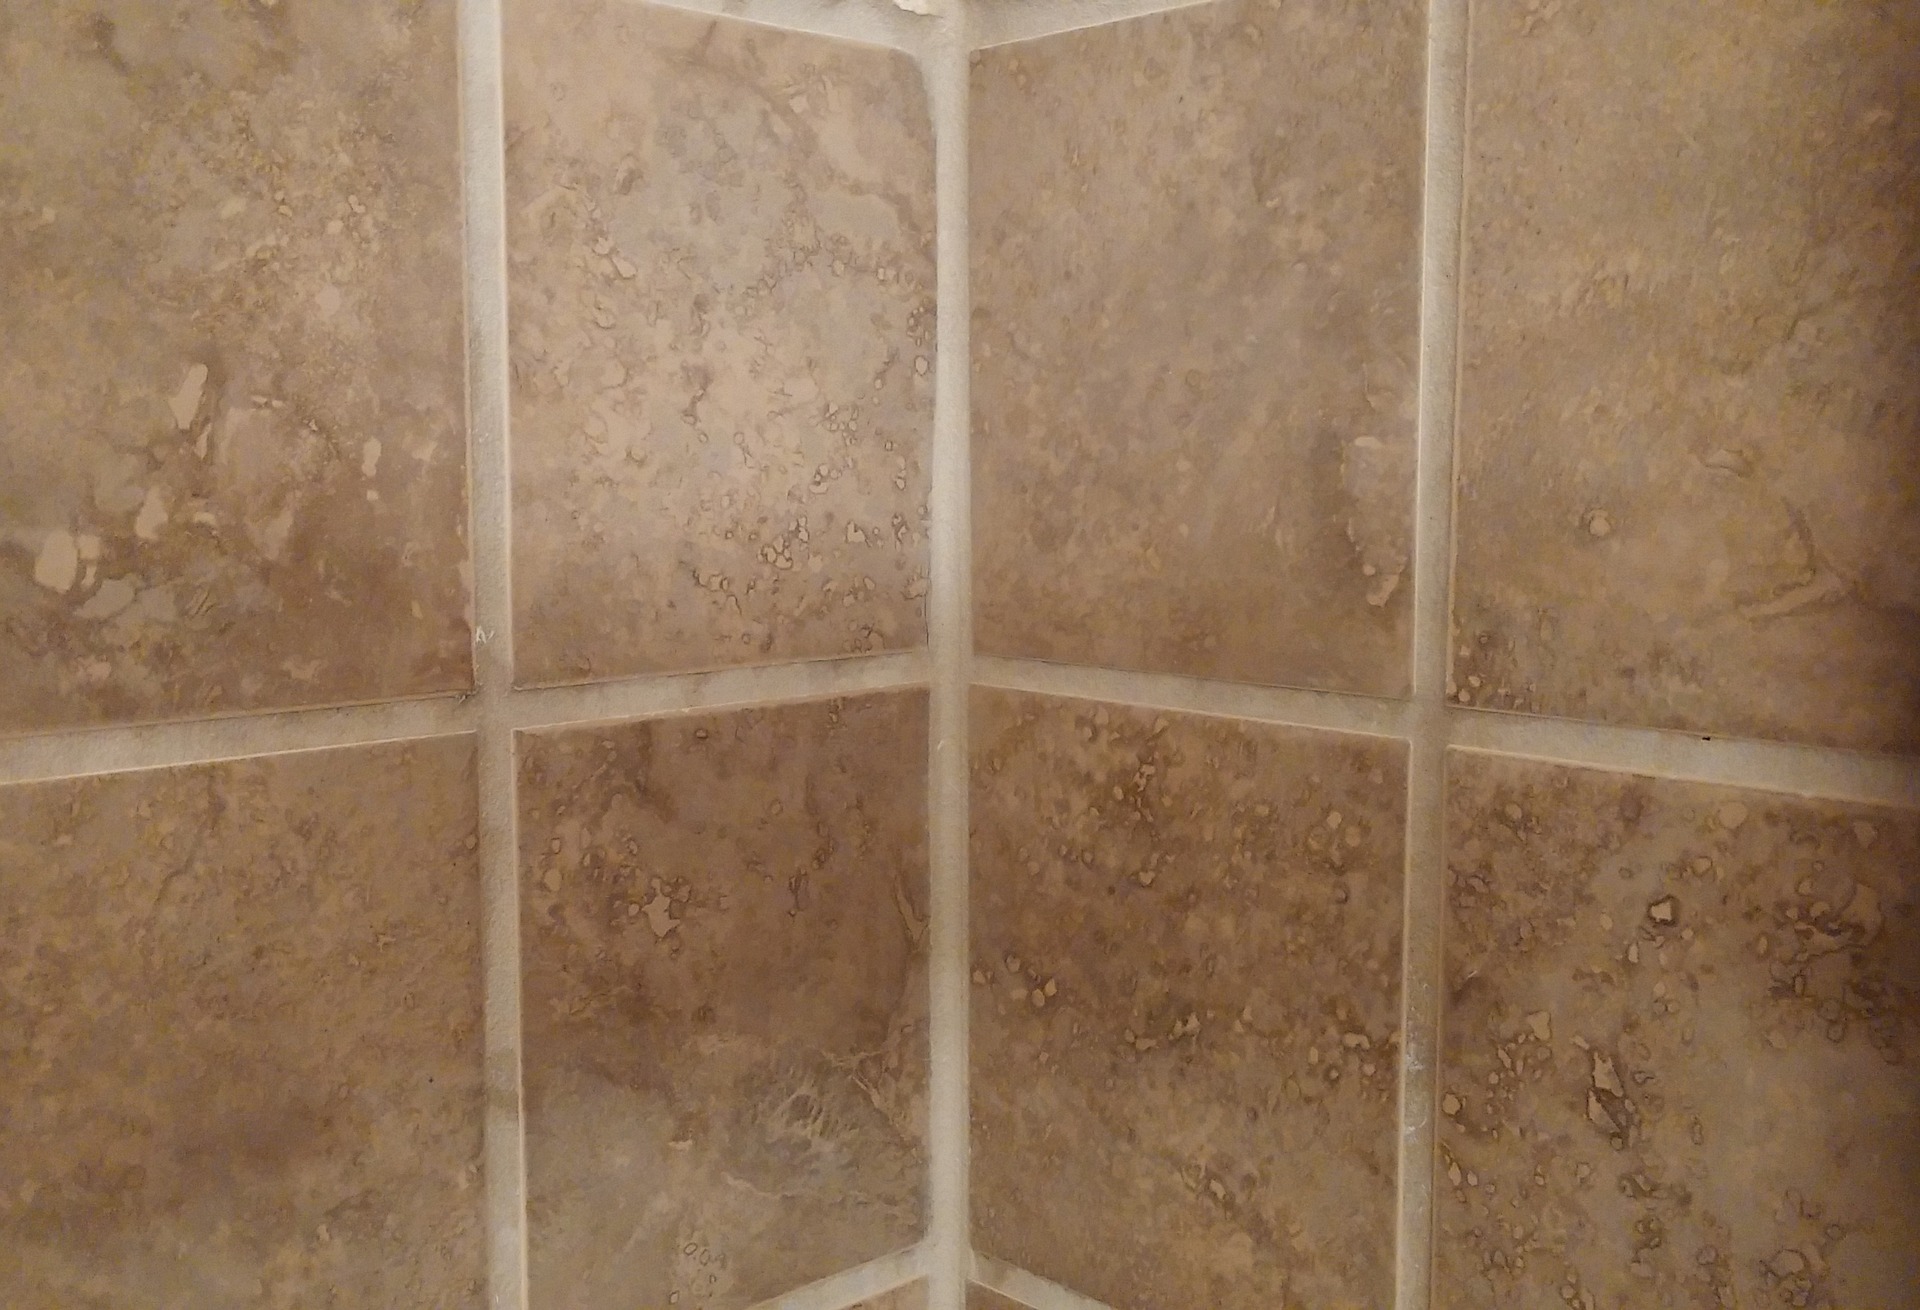
Over time, grout between wall or floor tiles in your kitchen or bathroom can crack, chip, crumble, or become uneven. If you notice that your grout is not in the best condition, don’t worry! This is a simple repair that you can do at home with just a few tools and a little time. Here are some tips on repairing cracked grout in your home.
- First, you need to determine which of the two main types of grout to use for your tiling–sanded grout or unsanded grout. Sanded grout is used to fill larger (greater than ⅛”) gaps between tiles. Unsanded grout is better for filling narrow gaps, and must be used if your tiles are made of metal, glass, or marble–otherwise, the grit from sanded gravel will cause scratches on the tile. Both of these types are easily applied and don’t require much work afterwards. Other types of grout like latex or epoxy can work as well, but can be more difficult to apply and maintain.
- Next, gather all your materials you’ll need for repairing cracked grout. You will need a wooden skewer, your grout powder of the type you’ll be using, a bowl or other container to hold the mixture, a trowel or other sturdy utensil (for mixing and pouring the grout), water, a grout float, a sponge, and a dry rag.
- Take the wooden skewer and run it over the grout in the damaged areas. While it may seem counterintuitive, doing this prepares the surfaces for new grout by detaching any loose bits of grout. You can easily vacuum up the crumbs, and now your damaged joints have a smoother, more solid surface. The last thing you want is to lay new grout, only to have the old and crumbling grout underneath it cause it to dislodge!
- Mix up a small portion of new grout. Since you likely are not re-grouting your whole floor, there’s no need to make a big batch. First pour some water into your mixing container, then add the powder (follow the manufacturer’s instructions for the exact ratio of water-to-grout to use). Use your trowel to mix it until the grout is smooth and about the consistency of toothpaste. Let the mixture sit for a few minutes. Then, apply the grout to the damaged gaps and smooth over it a few times with a grout float. The float is helpful in making sure your new grout is even with the surface of the tiles, and tamps it down so that there are no air bubbles that will cause issues later on. If you have extra grout on the area, use the edge of your grout float to scrape it away.
- Your tiles will most likely get a thin layer of grout on them, but you can leave that be for now. Allow your newly applied grout to sit for 5 – 10 minutes to spend some time starting to dry. After this time, you can then wipe the excess grout off of your tiles with a damp sponge or paper towel. If some cloudiness still remains, try using a dry towel or cloth to rub them and bring back their shine.
Repairing cracked grout and re-grouting your floors is an easy way to freshen up your bathroom, kitchen, or mudroom’s appearance without much effort. If your room needs further renovation or remodeling, call West Coast Design Build Florida for a consultation. We specialize in transforming your dated kitchen or bathroom into a showplace.
Recent Comments