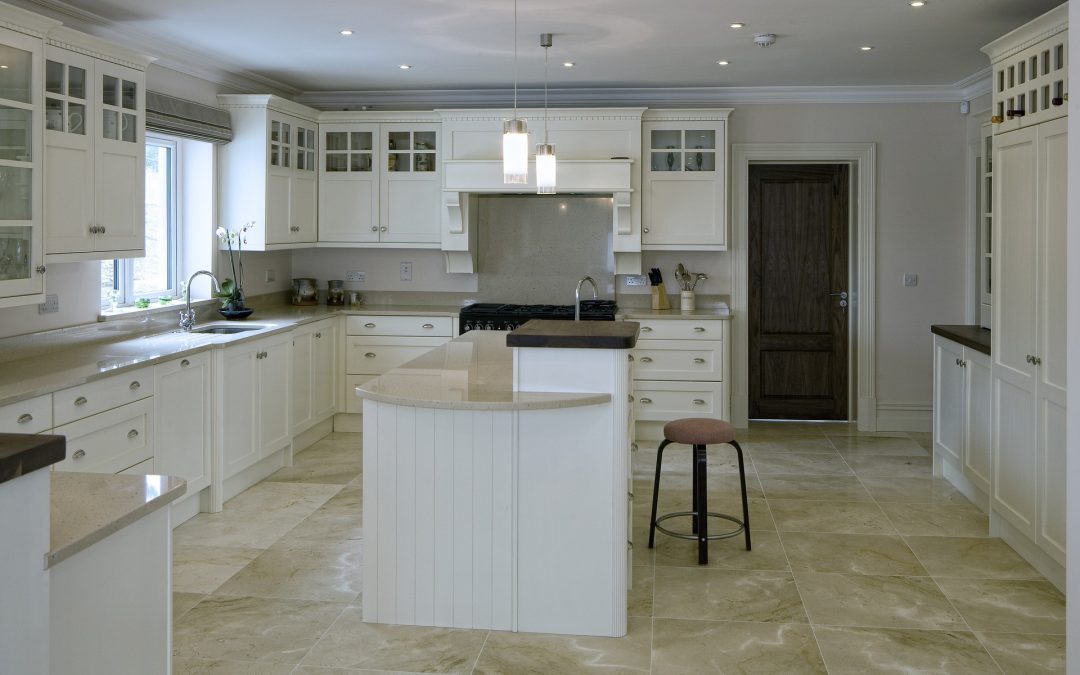
When your floor needs an update, tile may just be the way to go! There are endless colors, styles, and patterns you can create with tile to fit in perfectly with any room. Tile is easy to clean and resistant to water, making it an excellent flooring choice for kitchens, mudrooms, and bathrooms. Let us be your guide for choosing and laying tile to give your room the makeover you are looking for.
There are a few different ways to lay tile, depending on the type you are using. Always follow the manufacturer’s instructions when laying tile to get the best results. Below, we will explain one of the most common ways to lay tile.
First, plan for the laying of your tile to take a few days. Even if you’re able to lay it all in one day, the grout and mortar will need some time to dry completely. Choose a time to perform the renovation when you’ve got the flexibility to stay off of your new floor for two to three days to allow the tile to set.
To prepare your floor for the tile, you’ll want to remove most (if not all) appliances. Remove any tile you currently have and scrape off the old mortar so that you’re beginning with bare subfloor. Use a level to check that the floor is even throughout the room. Don’t worry if you find uneven spots–you can apply a leveling compound that fills in low points and self-levels to create a more even floor.
Now that your floor is clear and you know the tile you want, make sure that you have enough. It’s smart to measure the area you are planning to cover and add 10% to it when calculating how much tile you need. This way, if any tiles break or if you miscalculated, you’ve got extra to make up for it. Multiply the length of your room times the width, then multiply that number by 1.10 to get the amount of area you need covered.
When laying tile over a floor, it’s wise to lay an uncoupling membrane first and then lay the tile on top of it. This membrane gives the wood subfloor the flexibility to expand and contract as it naturally does without cracking or separating the tiles above. Lay out the membrane and cut it to the size of the room, then mix and spread out your mortar before rolling out the membrane on top of it. Do this in sections so that the mortar doesn’t dry out. Once it’s all laid, use waterproof tape to seal the seams in between the strips of membrane.
Follow the same pattern for laying tile–spread mortar out in a section, then lay the tile on top (twisting slightly and pushing down as you do so to ensure it is fully in contact with the mortar below). It may be helpful to draw reference lines for your tile if you are using square or rectangular pieces, so that your floor doesn’t end up looking crooked. Clean your tiles as you go so that mortar doesn’t dry on top of them. Cut your tile at the edges of the room as needed, then let the mortar set! Once it’s dry, apply your grout and enjoy your newly-tiled room.
Call West Coast Design Build Florida when your plans call for a kitchen or bathroom renovation – we’d love to help you design and install your new space!


Recent Comments