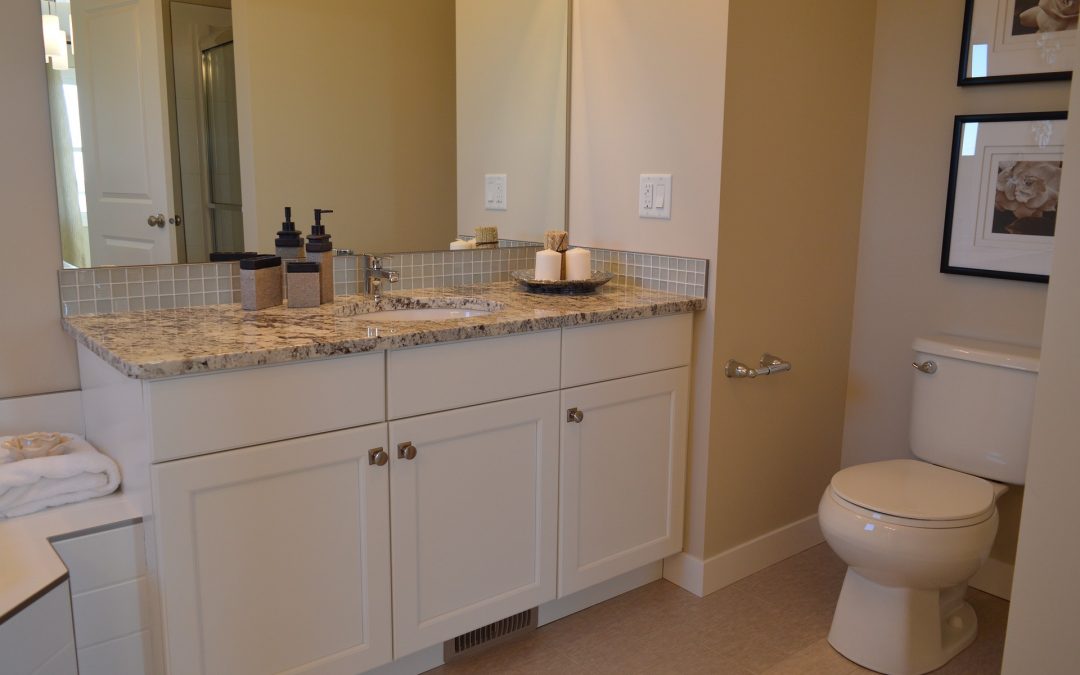
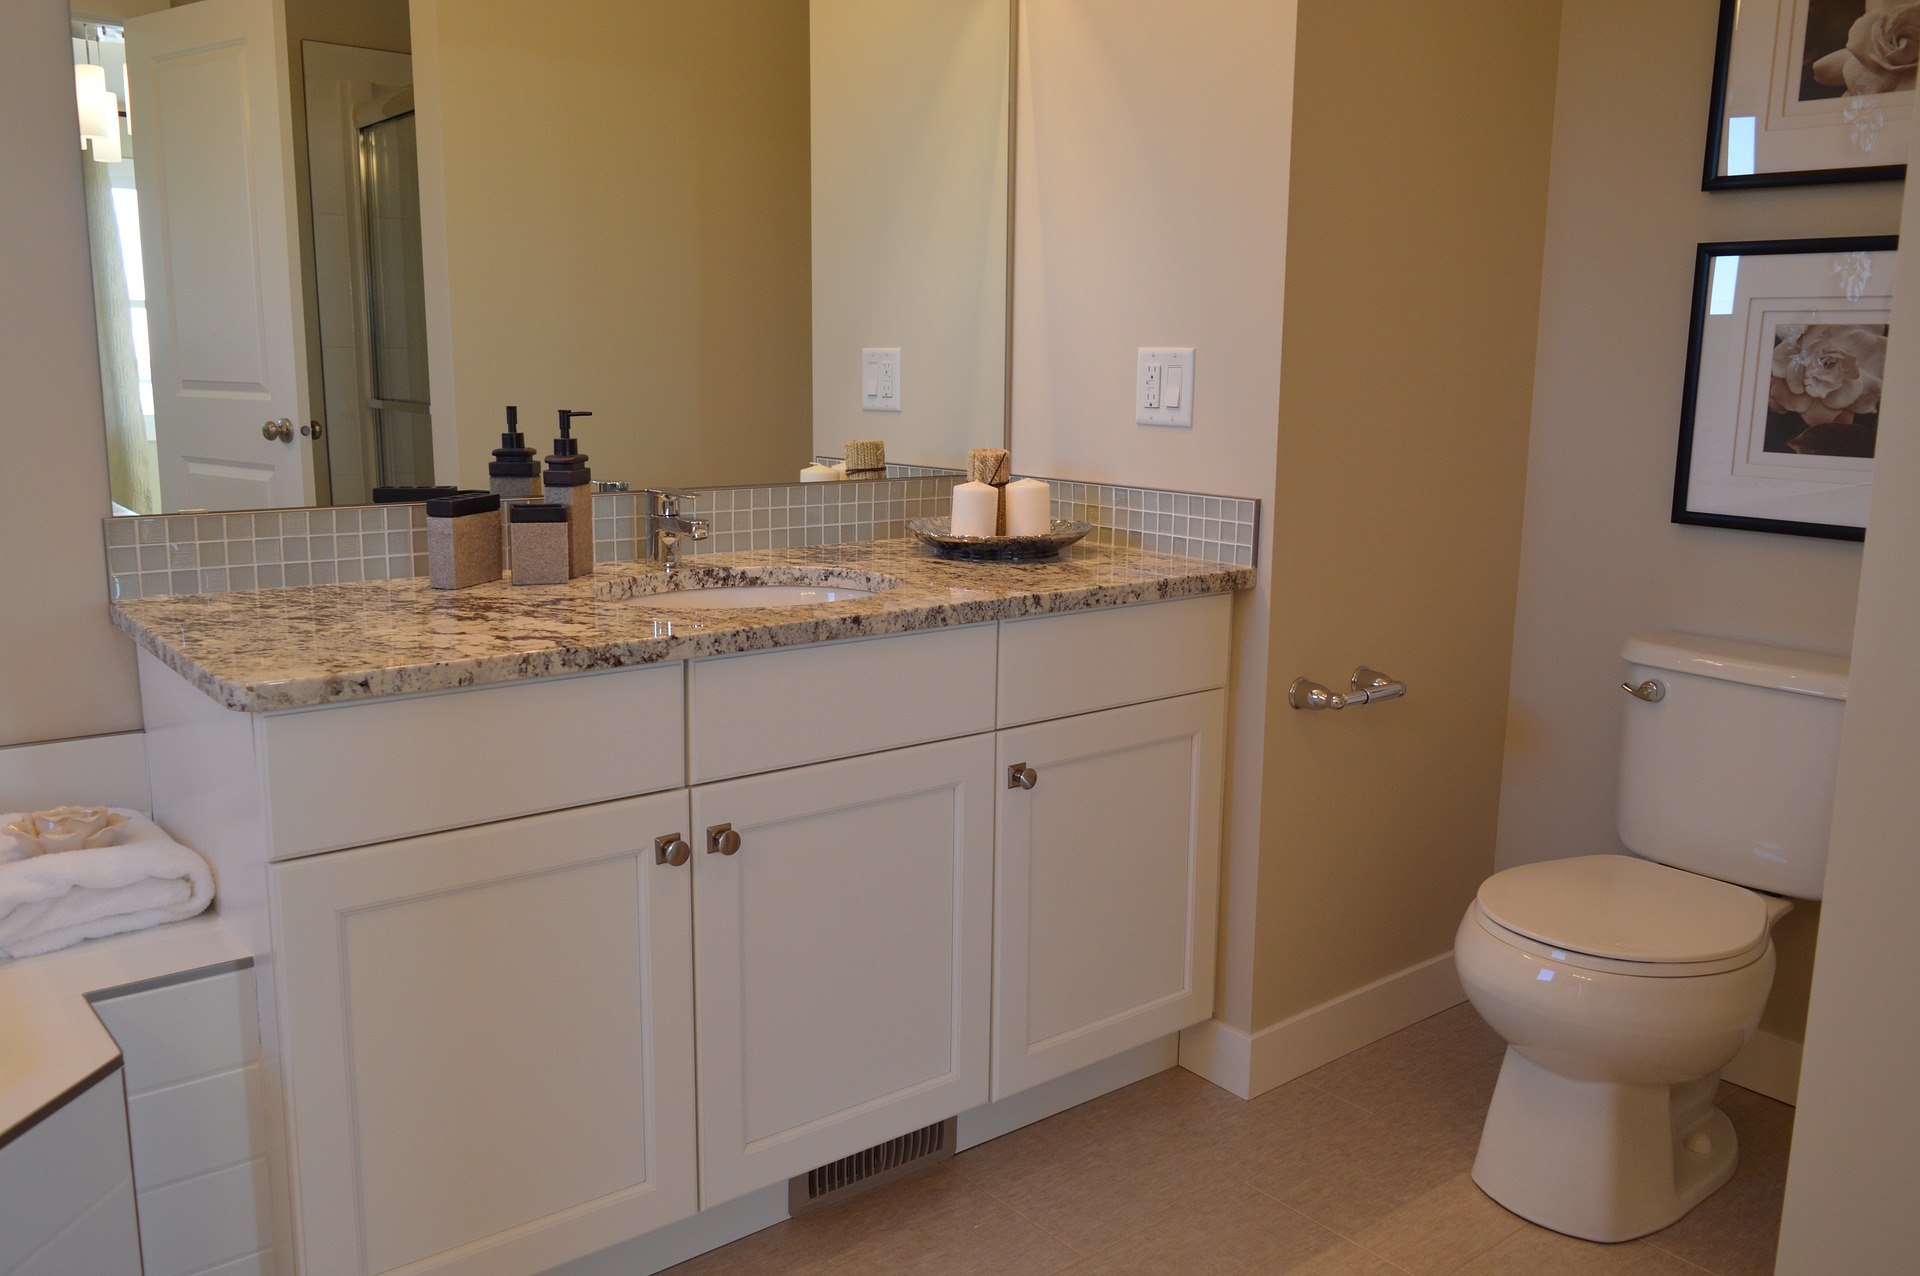
Sometimes, the bathroom renovations we need are not exactly glamorous. In fact, when you need a new toilet, few things are more pressing – but less exciting. That being said, it has to be done. Here is an easy how-to on the procedure. Replacing and installing a new toilet is a relatively easy process that any homeowner can accomplish, but there are a few key elements that it is important to do correctly.
Know Your Space
It’s happened many times before–a lovely new toilet is selected and delivered, only to find that it is too big for the space and won’t fit between the wall and cabinet, or prevents the door from opening fully. The first step to installing a new toilet is knowing the correct dimensions when you’re buying. Measure from the wall to the bolts on the floor that are securing your current toilet, as different models have different distances they sit from the wall. You should also know the maximum width and length of space that your toilet can comfortably fit in to prevent the disappointment of an ill-fitting appliance.
Out with the Old…
Once you’ve purchased your new toilet, it’s time to remove the old one. Turn off the water line and flush the toilet to get rid of the water. You’ll likely need to use a sponge to remove any residual water in the tank that isn’t flushed out.
Next, disconnect the water lines from the old toilet. Remove the tank bolts and lift the tank off of the main bowl (did you know the two come apart?). You may want to have a bucket ready to catch any remaining water that may leak out. Then unscrew the bolts holding down the main bowl. Have a towel or garbage bag set out on which you can set the toilet–the bottom is often grimy, and the material may help to drag the bowl instead of carrying it the entire way out of the house.
The wax ring and flange, which create the watertight seal with the floor, will likely need to be replaced (it’s recommended that you don’t reuse a wax ring for multiple toilets). Replacements and repair kits are readily available from home improvement stores and are generally universal–just double-check the height that your new toilet requires.
In with the New!
Set the new bolts into the flange and carefully lower the new bowl straight onto them. Avoid lowering it at an angle or needing to shift it much–this can damage the bolts or weaken the integrity of the new wax ring. Press down on the newly-installed bowl to make sure everything is set in place properly.
Screw nuts onto the bolts in the floor. Alternate between tightening so that the pressure on each side remains even, and be careful not to screw them too tightly as this could cause the porcelain to crack. The bolts can be left as-is, but most people choose to cut the excess off with a hacksaw.
The new tank may need to have a gasket and its bolts put in place. Flip it over to double check that everything is in place before carefully setting the tank onto the bowl. Tighten the bolts that connect it to the bowl, and use a level to make sure it’s sitting correctly.
Test it Out
Attach the water lines and gradually turn the water back on. It may help to have a partner so that you can catch leaks as quickly as possible. If water is leaking, tighten the bolts and make sure the bowl is filling properly.
Now that you have a brand new toilet, you may find yourself wanting an entirely new bathroom. How about discussing your dream bathroom remodeling project and getting it all done at once? Call West Coast Design Build Florida in Sarasota for great design ideas and professional installation.
Recent Comments